Before & After: Our Modern Kitchen Reno and The Power of Paint
Our kitchen is proof that paint can work miracles. The best part about this “reno” is that is didn’t require any demolition. Meaning, we didn’t have any kind of Chip-&-Joanna-Gaines-style-demo-day where we sledgehammered the whole place and started from scratch. The opposite is true, actually! We kept everything, but used some clever design tricks to upgrade the space to be more modern.
The kitchen came with amazing appliances for which I am thankful to this day! The design however was just fine. Like the rest of the apartment, the bones were good but the finishes and the design was sub par. Despite the nice materials used in the original built, the shiny red cherry wood of the cabinets and the yellow overhead lighting made the place feel dated, and the lack of counter space and odd layout made it feel like an afterthought just off the side of the living space, rather than a room of it’s own meant to be enjoyed. Check out the before:


The cabinetS :
A Lesson In Color Theory
Since the bones of the kitchen were in fantastic shape, all we needed was a bit of creativity and elbow grease. They were these shiny red cherry wood that just screamed dated, so I knew immediately they would need to be sanded and painted.
(Pro tip #1: Don’t skip the sanding process - this is invaluable in helping the new paint stick.
Pro Tip #2: When painting cabinets, make sure the paint you get is specifically formulated for cabinets and doors, not walls, so it can withstand the constant use better)
I chose a dual toned approach for the kitchen cabinets, using a beautifully subtle but deep navy blue called Hale Navy by Benjamin Moore for the lower cabinets to visually tie the kitchen design in with the beautiful blue velvet sofa that we has chosen for the living room. On the upper cabinets, I wanted to highlighting the apartments tall ceilings and keep the place airy and light, so we opted for Simple White by Benjamin Moore to draw the eye up while maximizing our vertical space. We also swapped out all the hardware for these beautiful ultra modern brushed bronze hardware from All Modern, which gave it the perfect touch of sophistication.

The kitchen with its original cherry colored cabinets

The kitchen with its cabinets removed and painted.

All the newly painted cabinets attached back on.
The Kitchen Island:
A Lesson In Layout
We bought this lovely standalone kitchen island on Wayfair to give us more cooking and prep space, to double (and hide!) our storage, and to visually separate the kitchen space from the living room. I actually also sanded and re-stained the island because it originally came in a bad shiny espresso color and I wanted it to complement the hardwoods more (guess I’m an overachiever.)
These two faux leather bar stools were a surprising Amazon find and provide a nice perch to have casual dinner conversations during meal prep. (In Covid-hindsight, it’s also a nice work from home area that we both didn’t anticipate we would need but are glad to have now.) Above the island, we installed two hanging industrial pendant lamps (also from Amazon) which feel built in and help to visually create a barrier from the kitchen to the living space. I really love how their black metal frame ties perfectly into the black hardware on the island and the stools, giving the whole place a feeling of cohesiveness and balance.


BONUS
Design Features
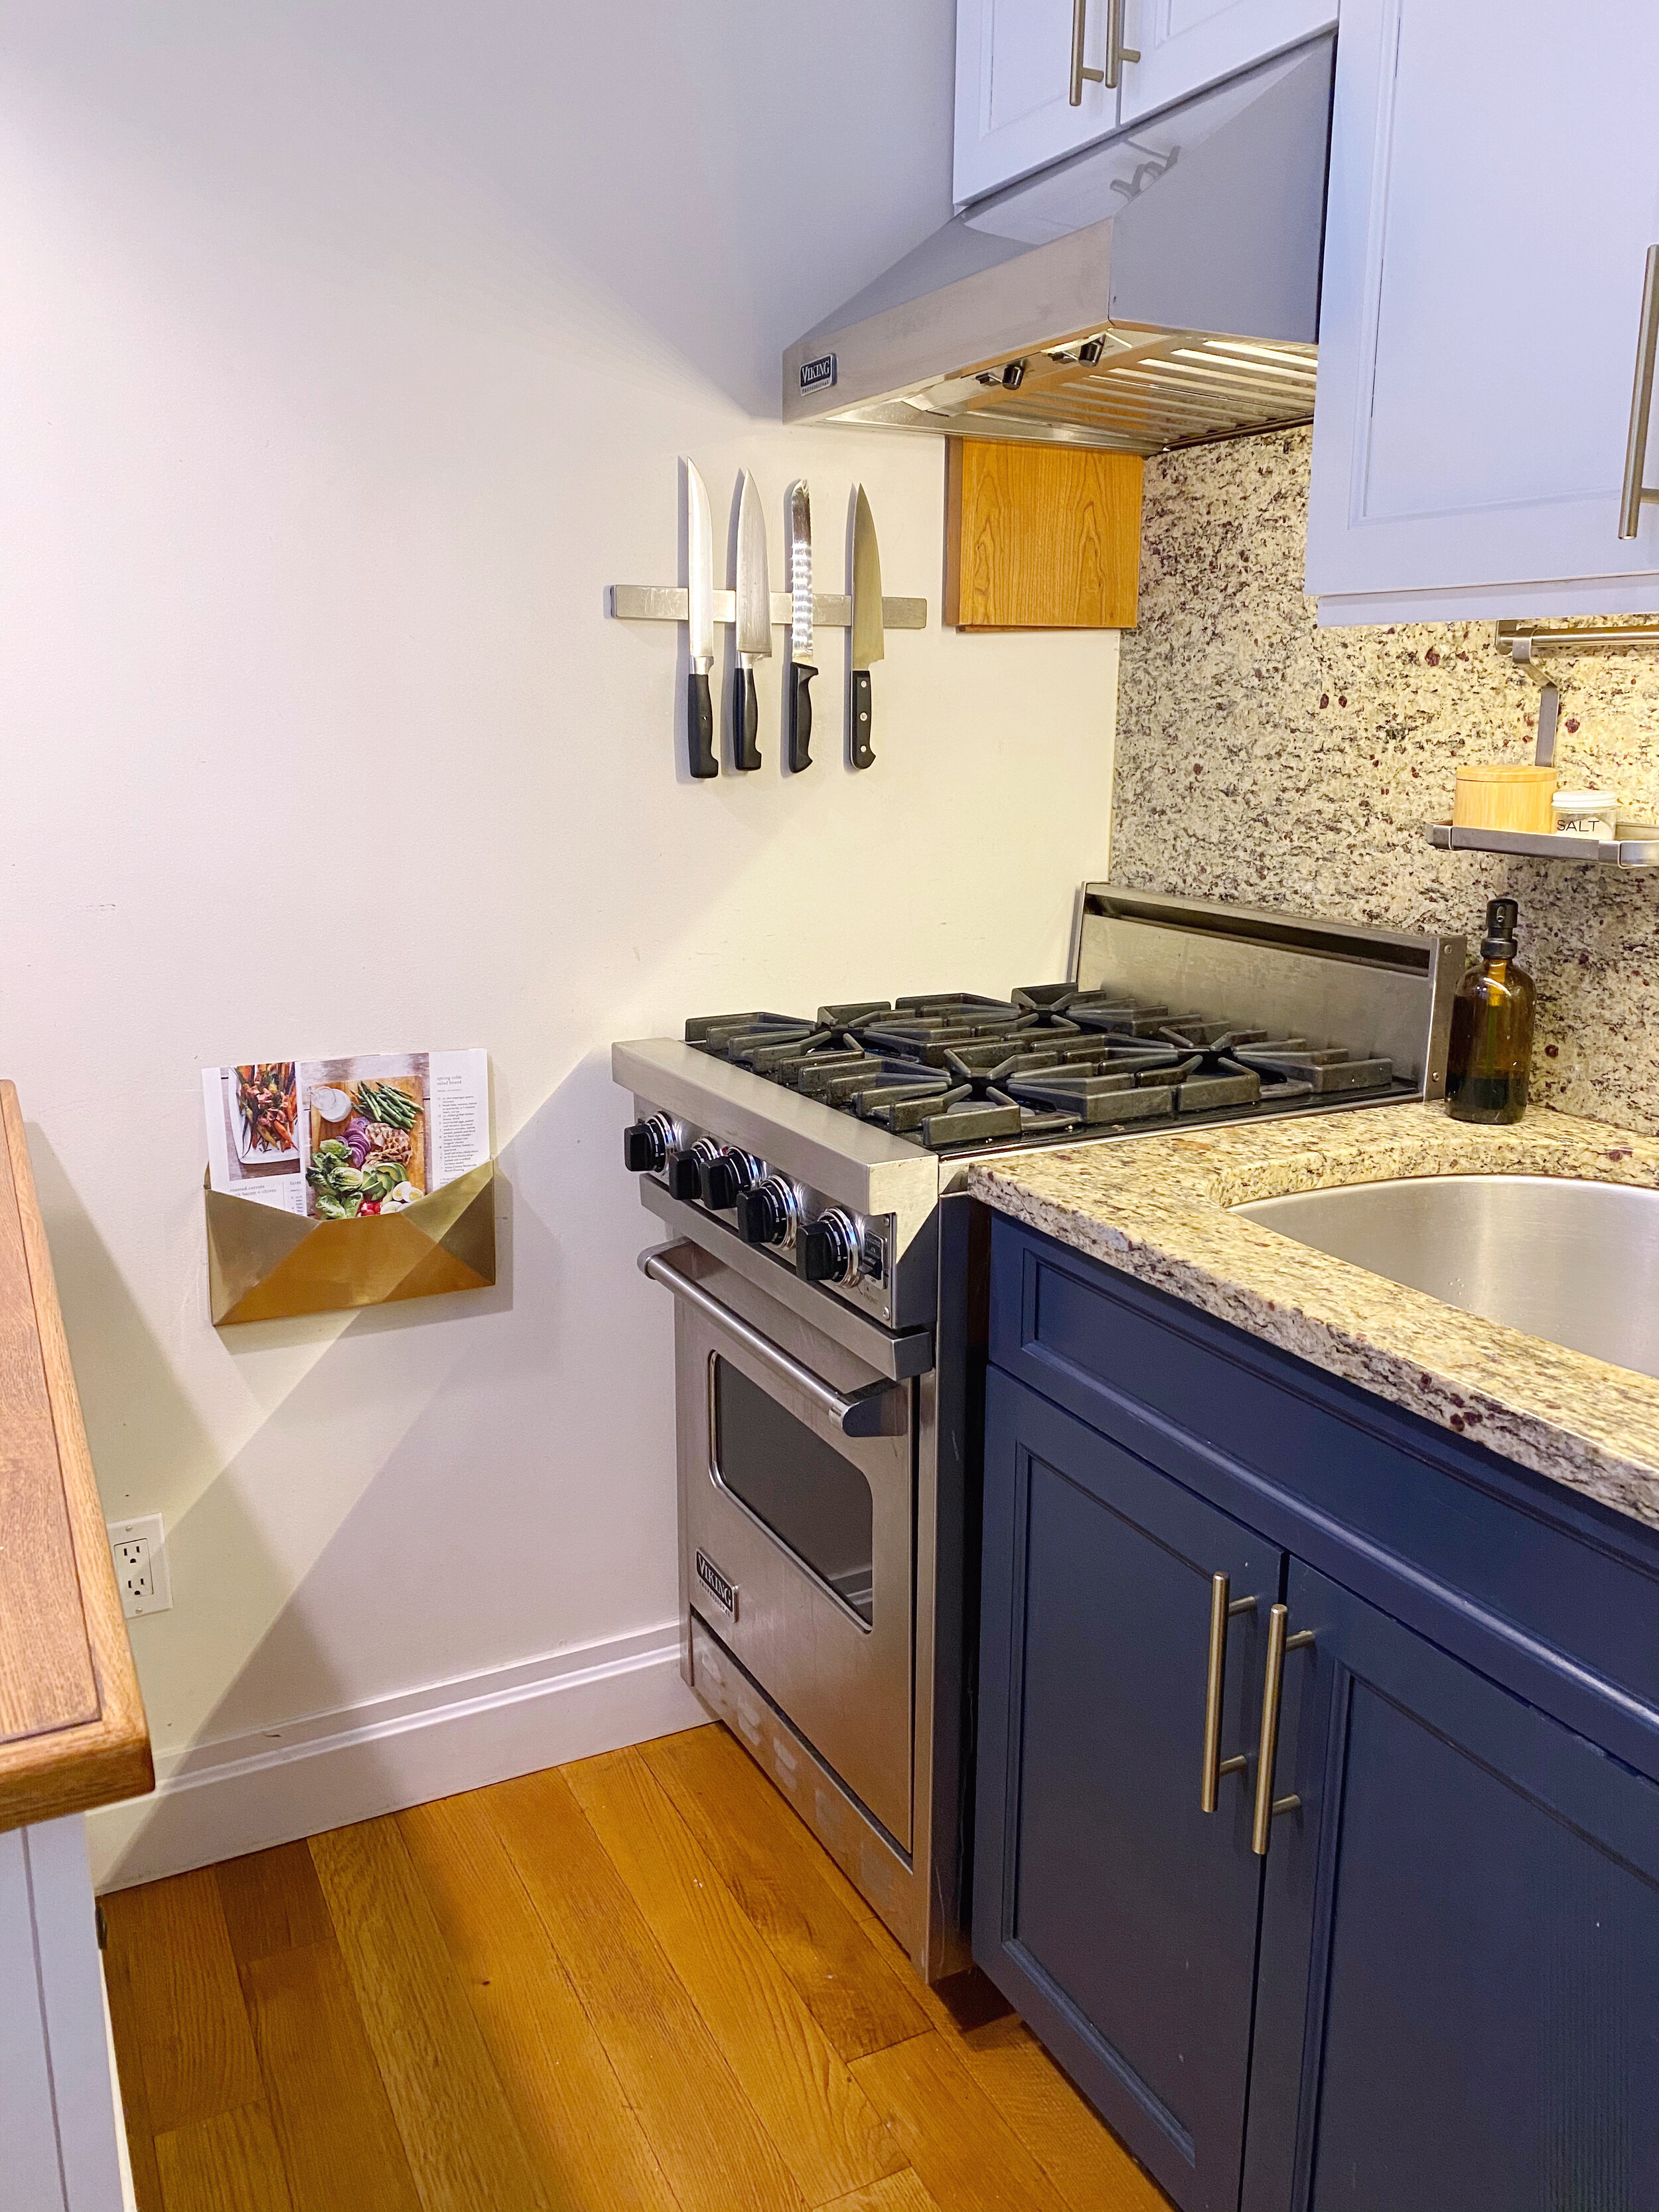
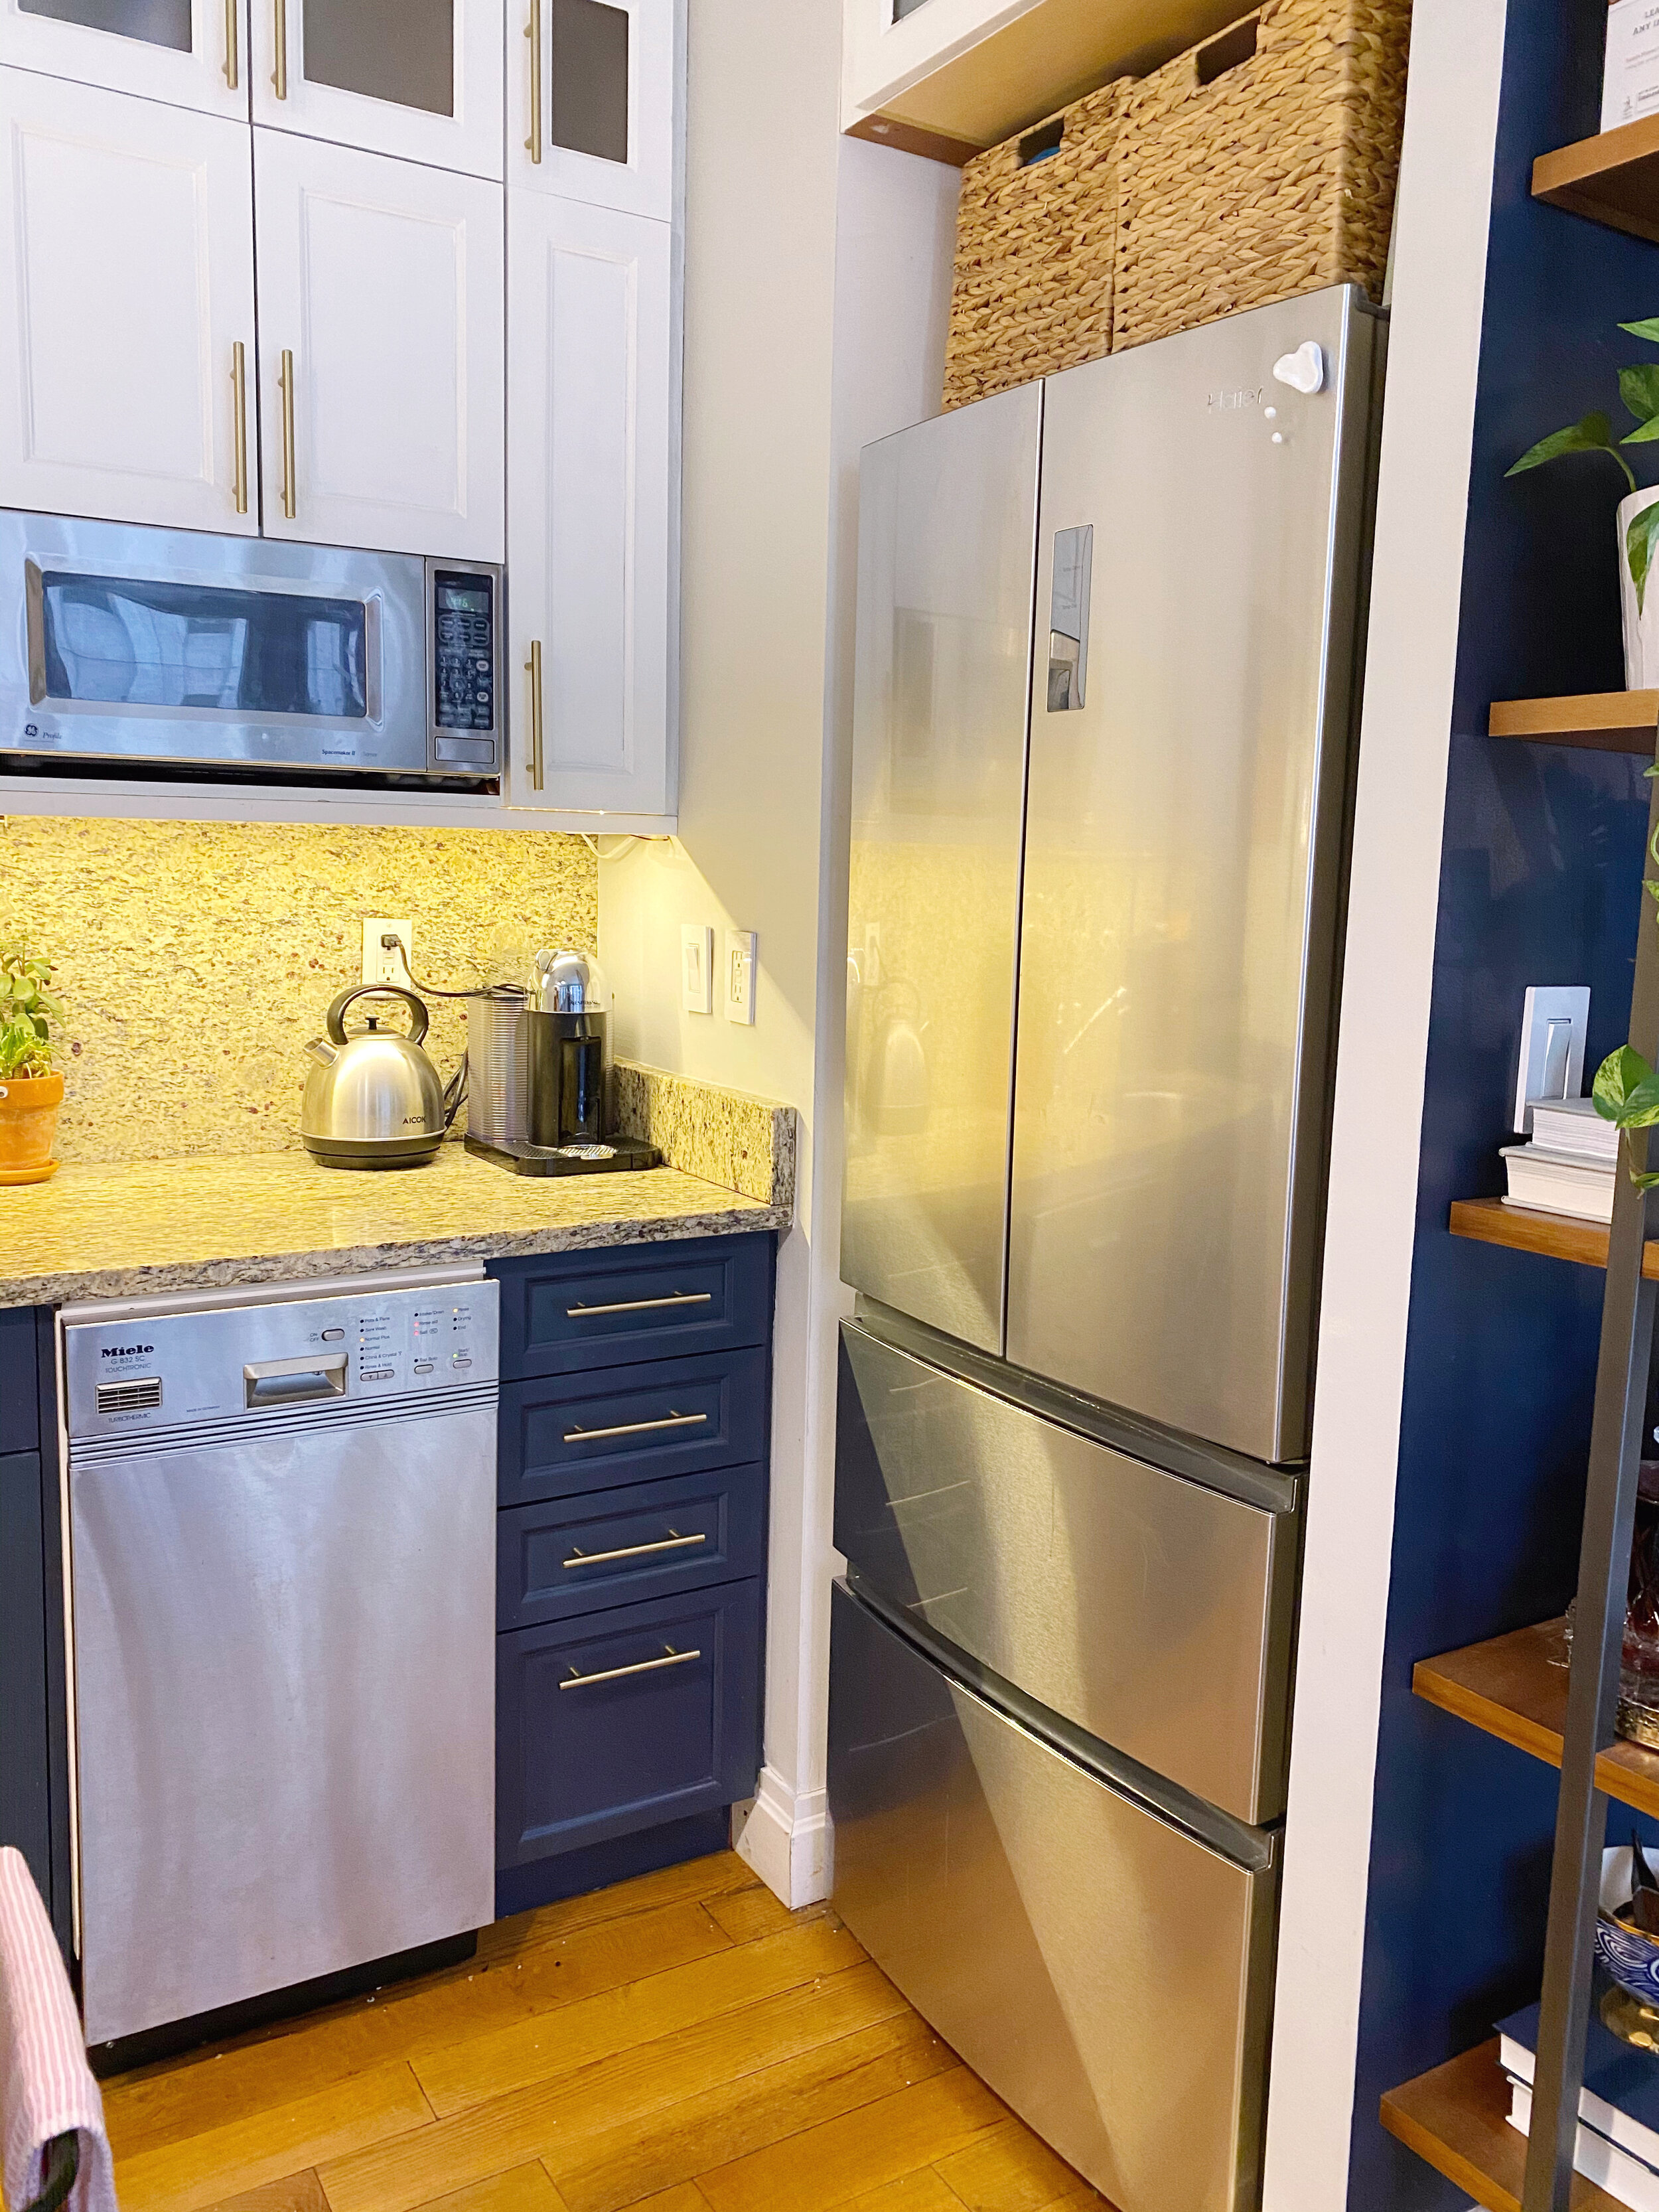
To minimize clutter on the counters (as one must in a small NYC apartment!), we installed a stainless steel rail above the sink for hanging mugs to dry and keeping spices within arms reach. We installed under cabinet lighting from Home Depot to give the workspace some much needed light. To the left of the stove, we added a magnetic knife rack, freeing up some cabinet space and putting our knives where we use them most. The gold envelope wall attachment next to the stove is where we store recipes, incoming mail, and any papers we need to sort through but don’t want the visual clutter of on our table surfaces. Above the kitchen island, I hung one of our favorite Tracy Savage paintings that we bought in England on our annual trip to visit my husbands family for Christmas.
But my main point is: all of these changes were cosmetic! We didn’t “demo” anything or start from scratch. Like with most goals, all it needed was a vision, along with the passion and hard work to see it through.
